

Keep your eye on the image.
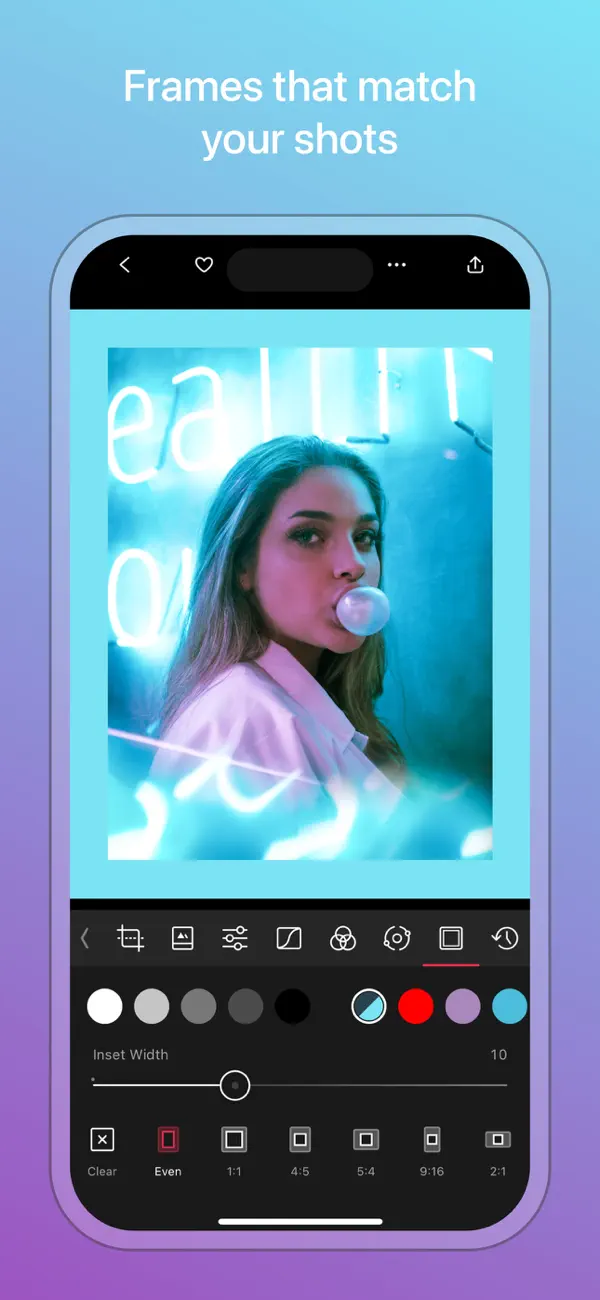
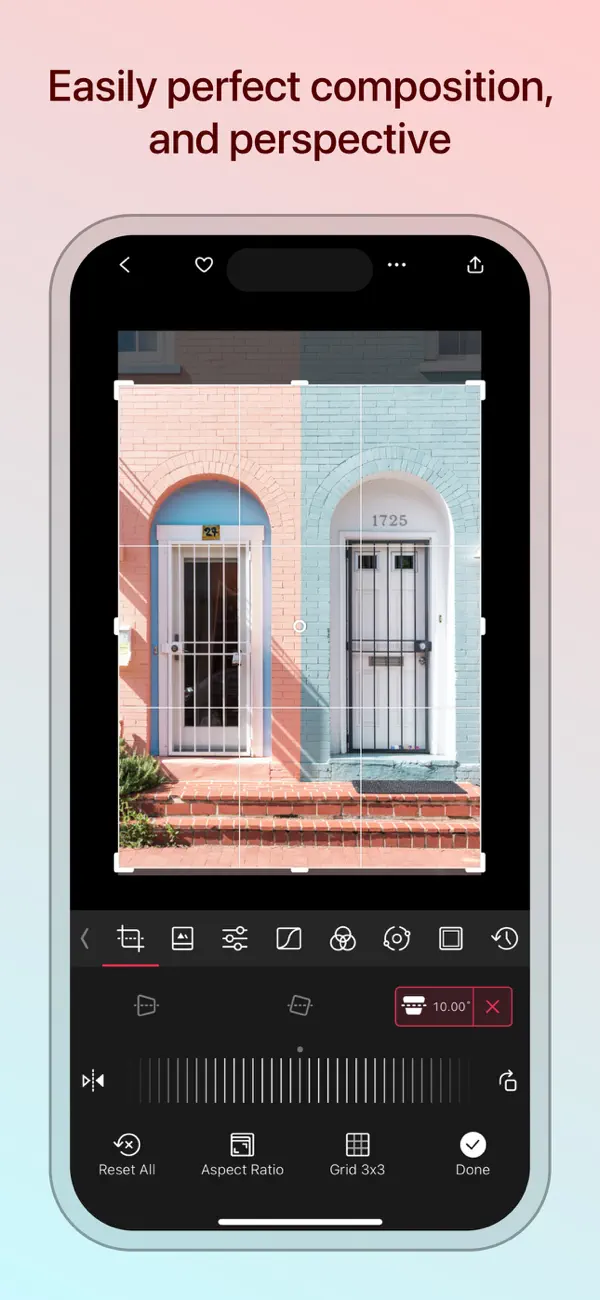
Darkroom makes a crop understandable through the image itself. A white frame marks the area being considered, while the surrounding controls stay below it. Choosing a new aspect ratio changes that frame in place, so the effect on the composition can be judged immediately.
Our demonstration uses an original image of a mountain lake, generated with AI. Warm sunset clouds sit above cool blue ridges, with reflected color on the water and a rocky shoreline in the foreground.
The crop recording begins with the full portrait image selected. The aspect chooser shows As shot selected among the available options. Choosing 1:1 Square shortens the frame vertically. The sky above and the foreground below the new boundary become dimmer, while the central lake and mountains remain bright within the selection.
That dimmed surrounding area is useful information. It preserves a view of what lies beyond the proposed edges, so the square can be compared with the original portrait composition without leaving the tool. The choice is visible as a relationship between the retained center and the surrounding image.
A grid briefly divides the selected area into thirds. As it fades, the white edge and corner handles remain. The frame continues to explain the crop after the temporary alignment aid has gone. Closing the aspect chooser reveals the crop controls beneath the image.
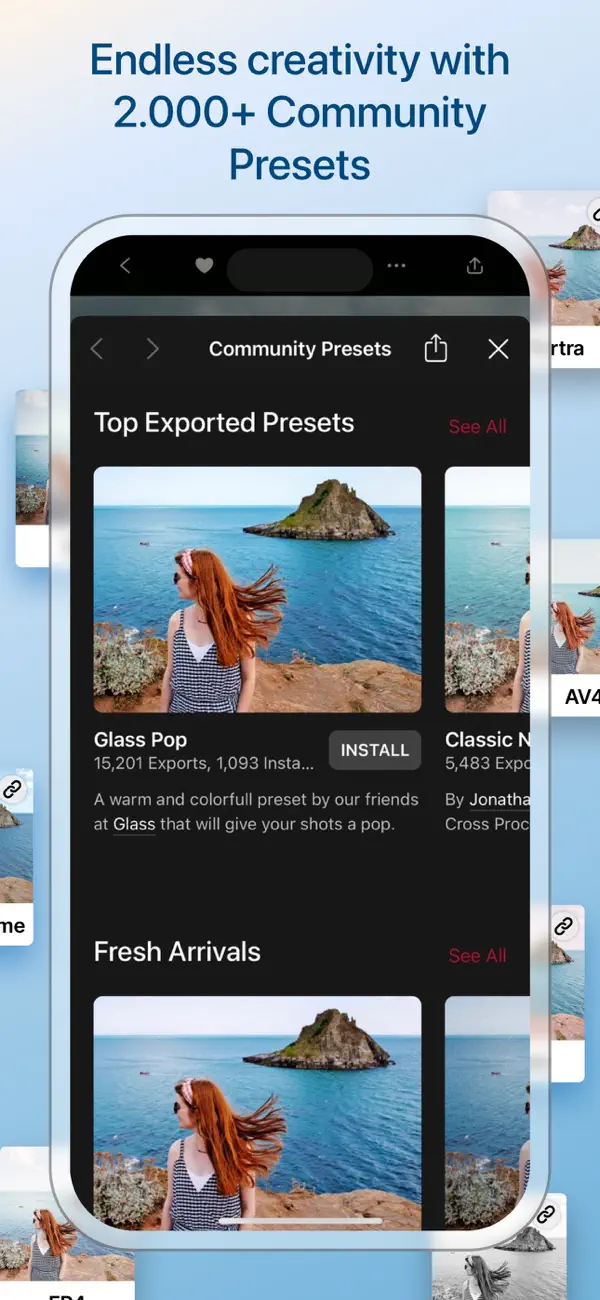
The second recording returns to the full portrait composition and changes its color treatment. A row of thumbnails repeats the same scene as Original, A100, A110, A200, and A210. Each option previews its effect on the image being edited, making the alternatives easier to compare than names alone.
Selecting A100 shifts the mountains and water from blue toward teal, while the warm sky and its reflection become stronger. The full image shows that change above the thumbnail row. An A100 – Darkroom panel then opens with a Strength slider reading 100 and Favorite and Reset controls beneath it. The preset’s name and current strength stay together, giving the selected treatment an identifiable place for further adjustment.
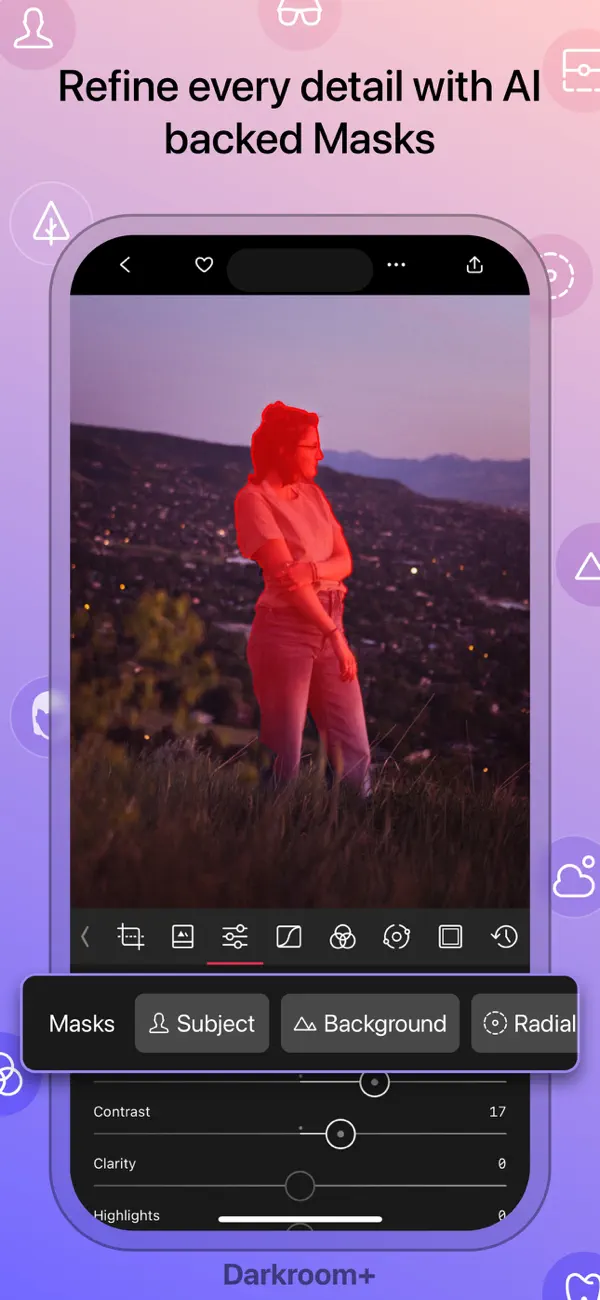
The interface keeps a consistent division of attention. The image occupies the upper portion of the display, a row of tool icons separates it from the controls, and the active tool determines what appears in the lower area. The crop chooser works with proportions and framing; the preset panel works with a named treatment and its strength. Both leave the visual result in a familiar place.
Darkroom’s official product site describes reversible adjustments and an edit history, with separate Save and Save Copy choices at export. It also explains that the app works directly with images and videos in Apple Photos. Those are useful parts of the wider workflow around the editing view shown here.
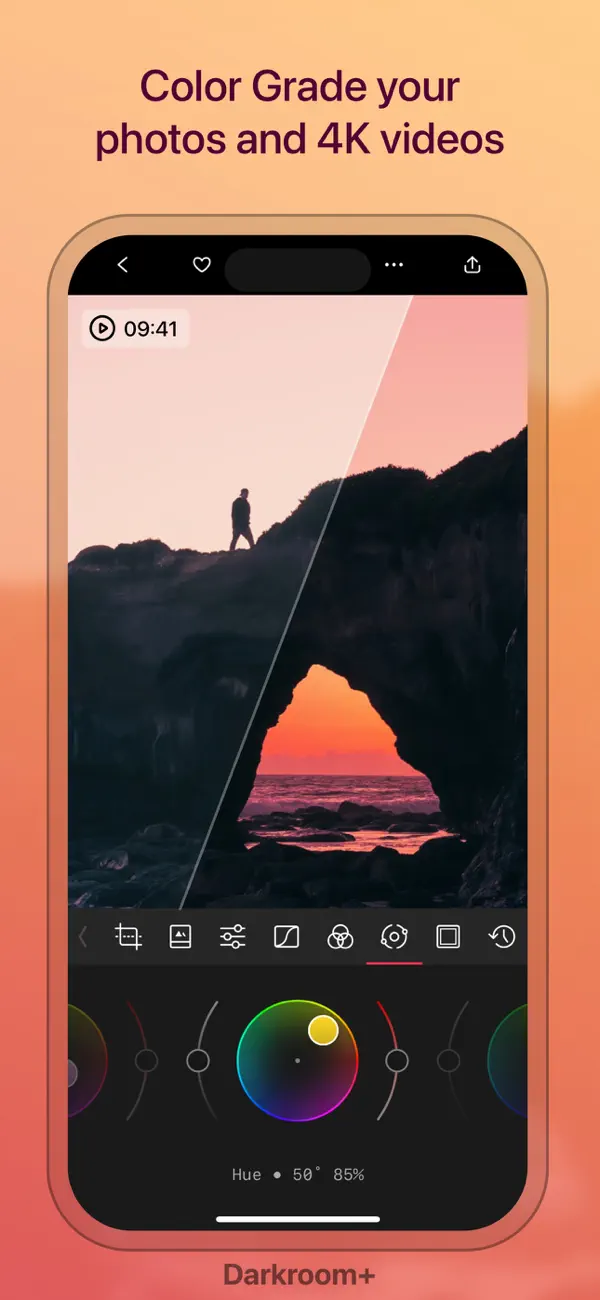
The current site says every tool can be tried free, with Darkroom+ required when exporting. In these recordings, a numerical ratio becomes a visible boundary and a preset becomes a visible color treatment. The image remains the reference for deciding what each choice does.
Independently selected. No paid placement.
Explore Darkroom